As I alluded to in this post, we've started the process of creating a nursery space for our Mini Waffle. One of the things I new we'd be needing was a chest of drawers, and wanting to get the most bang for my buck. I ideally wanted one that offered:
- enough space for a change pad on top
- plenty of storage for all the baby stuff (clothes, lotions, potions, etc.)
- multi-functional
- will grow with the baby (ie. doesn't scream nursery)
- cute to look at!
While I was getting ideas for the nursery I stumbled across this image and the idea of incorporating a retro dresser change table was born.
 |
| source |
So, I did want any self respecting modern DIY mama would do, and I scoured the list of Mr Craig, to see what I could find. And, as always, with a little patience and perseverance he didn't disappoint, because a few weeks later I stumbled across this little (okay, it's 71" long, so it's huuge) diamond in the rough.
And, it hit all of my dream dreser criteria
- enough space for a change pad on top- check
- plenty of storage for all the baby stuff (clothes, lotions, potions, etc.)- 9 drawers worth, check!
- multi-functional - it can go in almost any room, check
- will grow with the baby (ie. doesn't scream nursery) - wood and metal, totally all ages appropriate, check
- cute to look at!- hello awesome retro-ness with great legs, double check!!
Then, I let H know we needed to take a little drive after work.... lucky for me he's gotten used to my "little treasure trips", and with the help of some minor bribery in the form of a Starbucks, was more than willing to give me a hand wrangling this monster (it's 71" long). A quick trip across town, and we packed the new to us dresser in our Matrix and headed home.
After getting the lay of the land (and consulting with our furniture restoration guru- aka my Dad!), we decided that the finish on the top was too far gone for just polishing up, and that we'd have to get a bit more "invasive".
Years of use had taken a tole on the top surface to the point it was stained with oils, grease, pen, water rings, candle wax, you name it! And, a layer of varnish that was worn off in places.
So, I pulled out our newest toy, a Ryobi palm sander, and got to work taking off what was left of the finish.
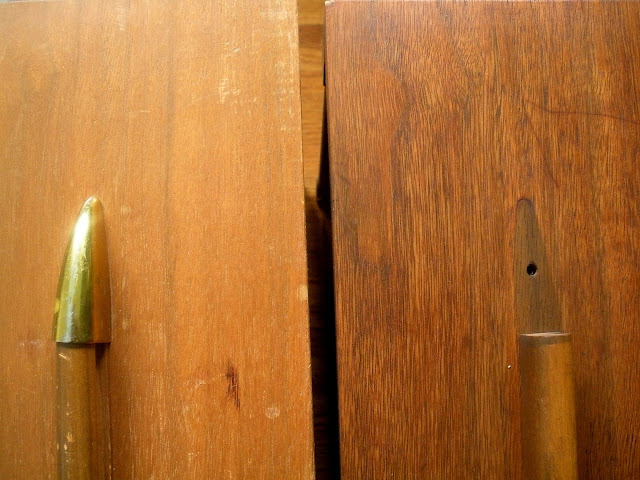
With the top under way, we started to tackle the rest of the dresser, starting with the drawers, which were dull and flat with handle tips which has a brass finish that was wearing off over the many years of use, leaving behind a blotchy brassy chrome look.... mmmm, not so hot!
So, we applied a wood cleaner with some steel wool to draw out all of the dirt and grime, and then added a layer of wax, and those dull beauties began to really shine and show the character of the wood veneer.
It's amazing to think those drawers are from the same piece of furniture! Next up for this project is to:
- De-brassify the metal handle tips
- clean and wax the entire carcass of the dresser
But, I think it's safe to say that this poor sad dresser has come a long way already, I can't wait to see Cinderella all done up for the ball!


No comments:
Post a Comment
We love to hear from other Crafty folks